
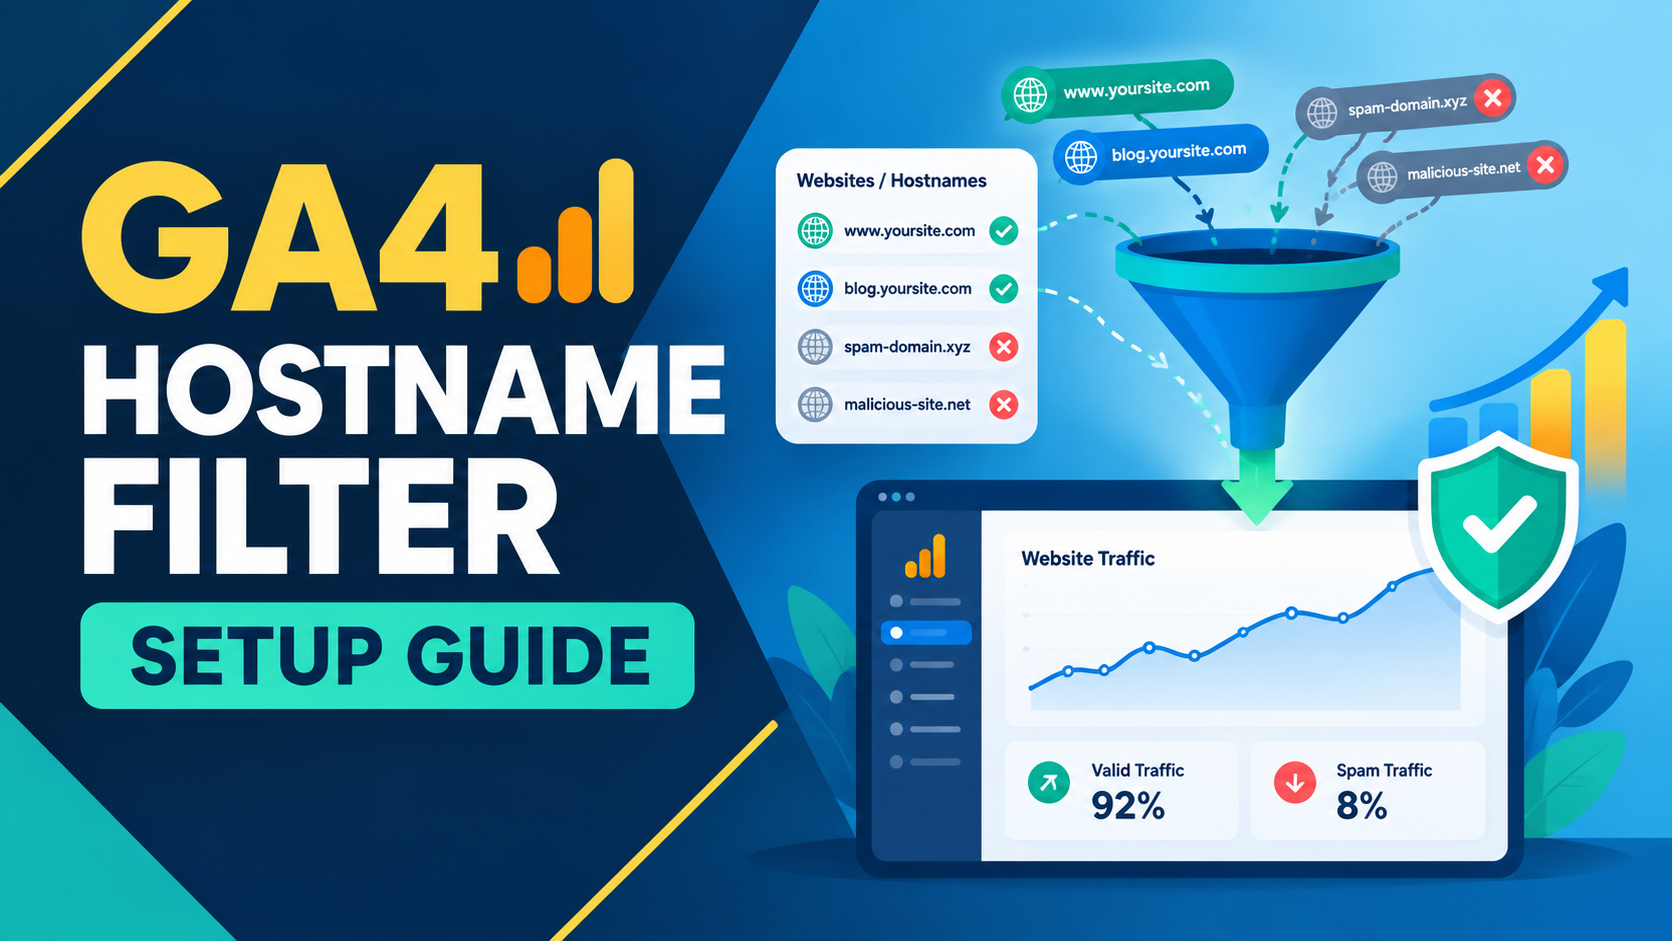
Google Analytics 4 (GA4) helps website owners monitor traffic, understand user behaviour, and measure website performance. However, inaccurate hostname data can make it difficult to identify genuine website visitors. Traffic associated with fake hostnames, empty hostnames, or unexpected domains may affect reporting accuracy and complicate SEO and marketing analysis.
One way to address this issue is by configuring a hostname Include filter in GA4. This filter allows website owners to specify which hostnames should be included in their analytics data. When configured correctly, it can help exclude events associated with unwanted hostnames without requiring DNS changes or server-side modifications.
In this guide, you will learn what a GA4 hostname Include filter is, why it matters, how to configure it in Testing mode, and how to verify its behaviour before activating it.
What Is a GA4 Hostname Include Filter?
A hostname identifies the domain through which a website page is accessed. For example, if a visitor opens https://www.example.com/services/, the hostname is www.example.com.
Similarly, a visitor accessing https://example.com/services/ generates a hostname of example.com.
A hostname Include filter in GA4 is a data filter configured to retain events matching specified hostname conditions. When the filter becomes active, events that do not satisfy those conditions are excluded from the processed analytics data.
For example, if your website operates on example.com and www.example.com, you may want to include traffic associated with both hostnames while excluding events from unrelated domains.
This configuration helps keep analytics reporting focused on your intended website traffic.
However, it is important to understand that a hostname filter is not a complete spam prevention solution. It filters data according to hostname conditions; it does not independently identify every type of bot, fraudulent interaction, or invalid traffic.
Why Is Hostname Filtering Important in GA4?
Accurate analytics data is essential for making informed decisions about SEO, paid advertising, and website improvements. Unwanted hostname data can make it harder to interpret reports and evaluate marketing performance.
Here are some reasons to consider configuring a hostname Include filter.
1. Reduce Unwanted Hostname Data
Your GA4 property may receive events associated with unexpected hostnames. These can include traffic from test environments, improperly configured tracking implementations, or unrelated domains where your measurement code is present.
An Include filter helps restrict processed data to events that match your approved hostname conditions.
2. Improve Reporting Accuracy
Website owners use GA4 to monitor sessions, engagement, conversions, and other performance metrics. Unwanted events may complicate the interpretation of these metrics.
Filtering out events associated with unapproved hostnames can help make reports more relevant to the website being analysed.
3. Support SEO Performance Analysis
SEO professionals regularly review organic traffic, landing pages, engagement, and conversions to understand the impact of optimisation activities.
More reliable hostname data can make these reports easier to interpret. It can also help teams investigate unexpected changes in analytics metrics.
A hostname filter does not directly improve search rankings or remove spam from search engine results. Its purpose is to help maintain cleaner analytics data.
4. Avoid DNS and Server Changes
A GA4 hostname data filter is configured within the Google Analytics interface. It does not require DNS record changes or modifications to server settings.
This makes it a convenient option for teams that have GA4 access but limited control over website infrastructure.
How to Set Up a Hostname Include Filter in GA4
Before creating the filter, identify all legitimate hostnames used by your website. These may include the www and non-www versions of your primary domain, along with any other hostnames that legitimately send data to the same GA4 property.
Follow these steps to configure the filter.
Step 1: Open Data Filters in GA4
First, sign in to your Google Analytics account and select the correct GA4 property.
Next, follow these steps:
Click Admin in the bottom-left corner.
Find the Data collection and modification section.
Select Data filters.
Click Create filter and choose the appropriate filter type if prompted, or open an existing filter if you are modifying one.
The available options may vary slightly depending on the current GA4 interface and the permissions associated with your account.
Step 2: Configure the Filter Settings
Enter a descriptive name so your team can easily identify the filter in the future.
For example, use:
Filter name: Allowlist – Main Hostname Only
Choose the Include operation and configure the hostname condition to match your approved domain.
If the interface provides a hostname condition with a contains match type, entering example.com may match both example.com and www.example.com.
However, there is an important consideration: the contains condition can also match other hostnames containing the same text, such as example.com.fake-domain.net.
Therefore, do not assume that this condition strictly limits traffic to your domain and its www version. Review the available matching options and use a more restrictive condition where supported. If you use a contains condition, verify the resulting hostname data carefully.
Replace example.com with your actual domain and confirm that all legitimate hostnames are covered before proceeding.
Step 3: Save the Filter in Testing Mode
Before activating the filter, use Testing mode to evaluate its behaviour.
Locate the Filter state setting.
Select Testing.
Review the filter configuration.
Click Save.
Testing mode helps you evaluate how events match the filter without immediately applying the exclusion to your processed reporting data.
This step is important because an incorrectly configured Include filter may exclude legitimate website traffic after activation.
Step 4: Verify the Filter in GA4 Reports
After saving the filter, allow time for new data to arrive and become available in GA4. Processing times vary, so 24–48 hours can be a useful initial review period rather than a guaranteed timeframe.
To investigate the results:
Open Explore in GA4.
Create a blank exploration.
Add the Hostname dimension.
Add the Test data filter name dimension if it is available in your property.
Review the hostnames and filter-related values shown in the exploration.
Check whether your primary hostname and other approved hostnames appear as expected. Investigate any unexpected hostname values before activating the filter.
The test-filter dimension can help identify events associated with a filter in Testing mode, but it should not be treated as proof that every event will be filtered correctly.
If the expected test indicators or hostname data are unavailable, check the property configuration, available dimensions, and reporting time range before proceeding.
Step 5: Activate the Filter
Once you have reviewed the test results and confirmed that the configuration matches your requirements, return to the Data filters section.
Follow these steps:
Open the hostname Include filter.
Change the filter state from Testing to Active.
Review the settings one final time.
Click Save.
After activation, the filter applies to incoming data according to its configured conditions. Continue monitoring hostname reports and key analytics metrics to identify any unexpected changes.
Remember that an active data filter is not a replacement for checking your GA4 tracking implementation or investigating suspicious traffic sources.
Important Things to Know Before Activating the Filter
Before applying a hostname Include filter, keep the following technical considerations in mind.
Filters Are Not Retroactive
GA4 data filters do not remove previously collected data from historical reports. They apply to incoming data after activation, so existing historical reports remain unchanged.
Verify All Legitimate Hostnames
Some websites use additional subdomains, staging environments, payment gateways, or third-party integrations. Determine which hostnames legitimately need to be included in your reporting before activating the filter.
Understand the Risks of Include Filters
An Include filter excludes events that do not match its conditions. If the condition is too restrictive, legitimate traffic may be excluded from processed analytics data.
Use Testing mode and verify the configuration carefully before activation.
Hostname Filtering Does Not Block Website Visitors
A GA4 hostname filter affects analytics data processing. It does not block visitors from accessing your website, prevent requests from reaching your server, or stop bots from crawling your pages.
If you need to block malicious requests, investigate appropriate security controls, such as your hosting provider's security features, a web application firewall, or server-level rules.
Common Mistakes to Avoid
When configuring a hostname Include filter, avoid these common mistakes:
Using an overly broad condition: A contains match can include unintended hostnames that contain your domain name.
Skipping Testing mode: Activating the filter without checking its behaviour increases the risk of excluding valid traffic.
Ignoring additional hostnames: Legitimate subdomains or third-party tracking environments may require separate consideration.
Expecting historical data to change: Data filters do not retroactively remove existing events.
Treating the filter as complete bot protection: Hostname filtering is a reporting control, not a comprehensive security solution.
Avoiding these mistakes helps reduce configuration risks and supports more reliable analytics reporting.
Conclusion
Setting up a hostname Include filter in Google Analytics 4 can help website owners maintain more relevant analytics data by excluding events that do not match approved hostname conditions. The configuration is managed within GA4 and does not require DNS or server changes.
For the best results, identify your legitimate hostnames, configure the appropriate matching conditions, test the filter, and review the results before activation. Continue monitoring your reports after the filter becomes active to confirm that legitimate traffic is being recorded as expected.
A carefully configured hostname filter can support more reliable SEO and marketing analysis. However, it should be used alongside regular tracking audits and appropriate website security measures to maintain accurate reporting and investigate suspicious traffic effectively.